An unsupported fence gate will sag, whether it's a wood board fence, picket fence, aluminum or ornamental fence, or even chain link mesh fence. When a gate is sagging, it is due to the weight of the opening side of the gate and could be due to heavy hardware or even a post that isn't strong enough to support it. Several methods prevent a sagging gate or reinforce a gate that has sagged due to insufficient support.
How to Identify and Fix Sagging Gates?
A sagging gate on any type of fence system indicates that maintenance is required. Whether it's old hinges, unsupported weight, or weather conditions, it is important to repair the sagging gate before further damage occurs. Depending on the gate type, fixing or repairing a sagging gate can require minimal effort, hinge and screw replacement or more labor-intensive serious framework fixes like resetting the gate posts.
Sagging Wood Fence Gate
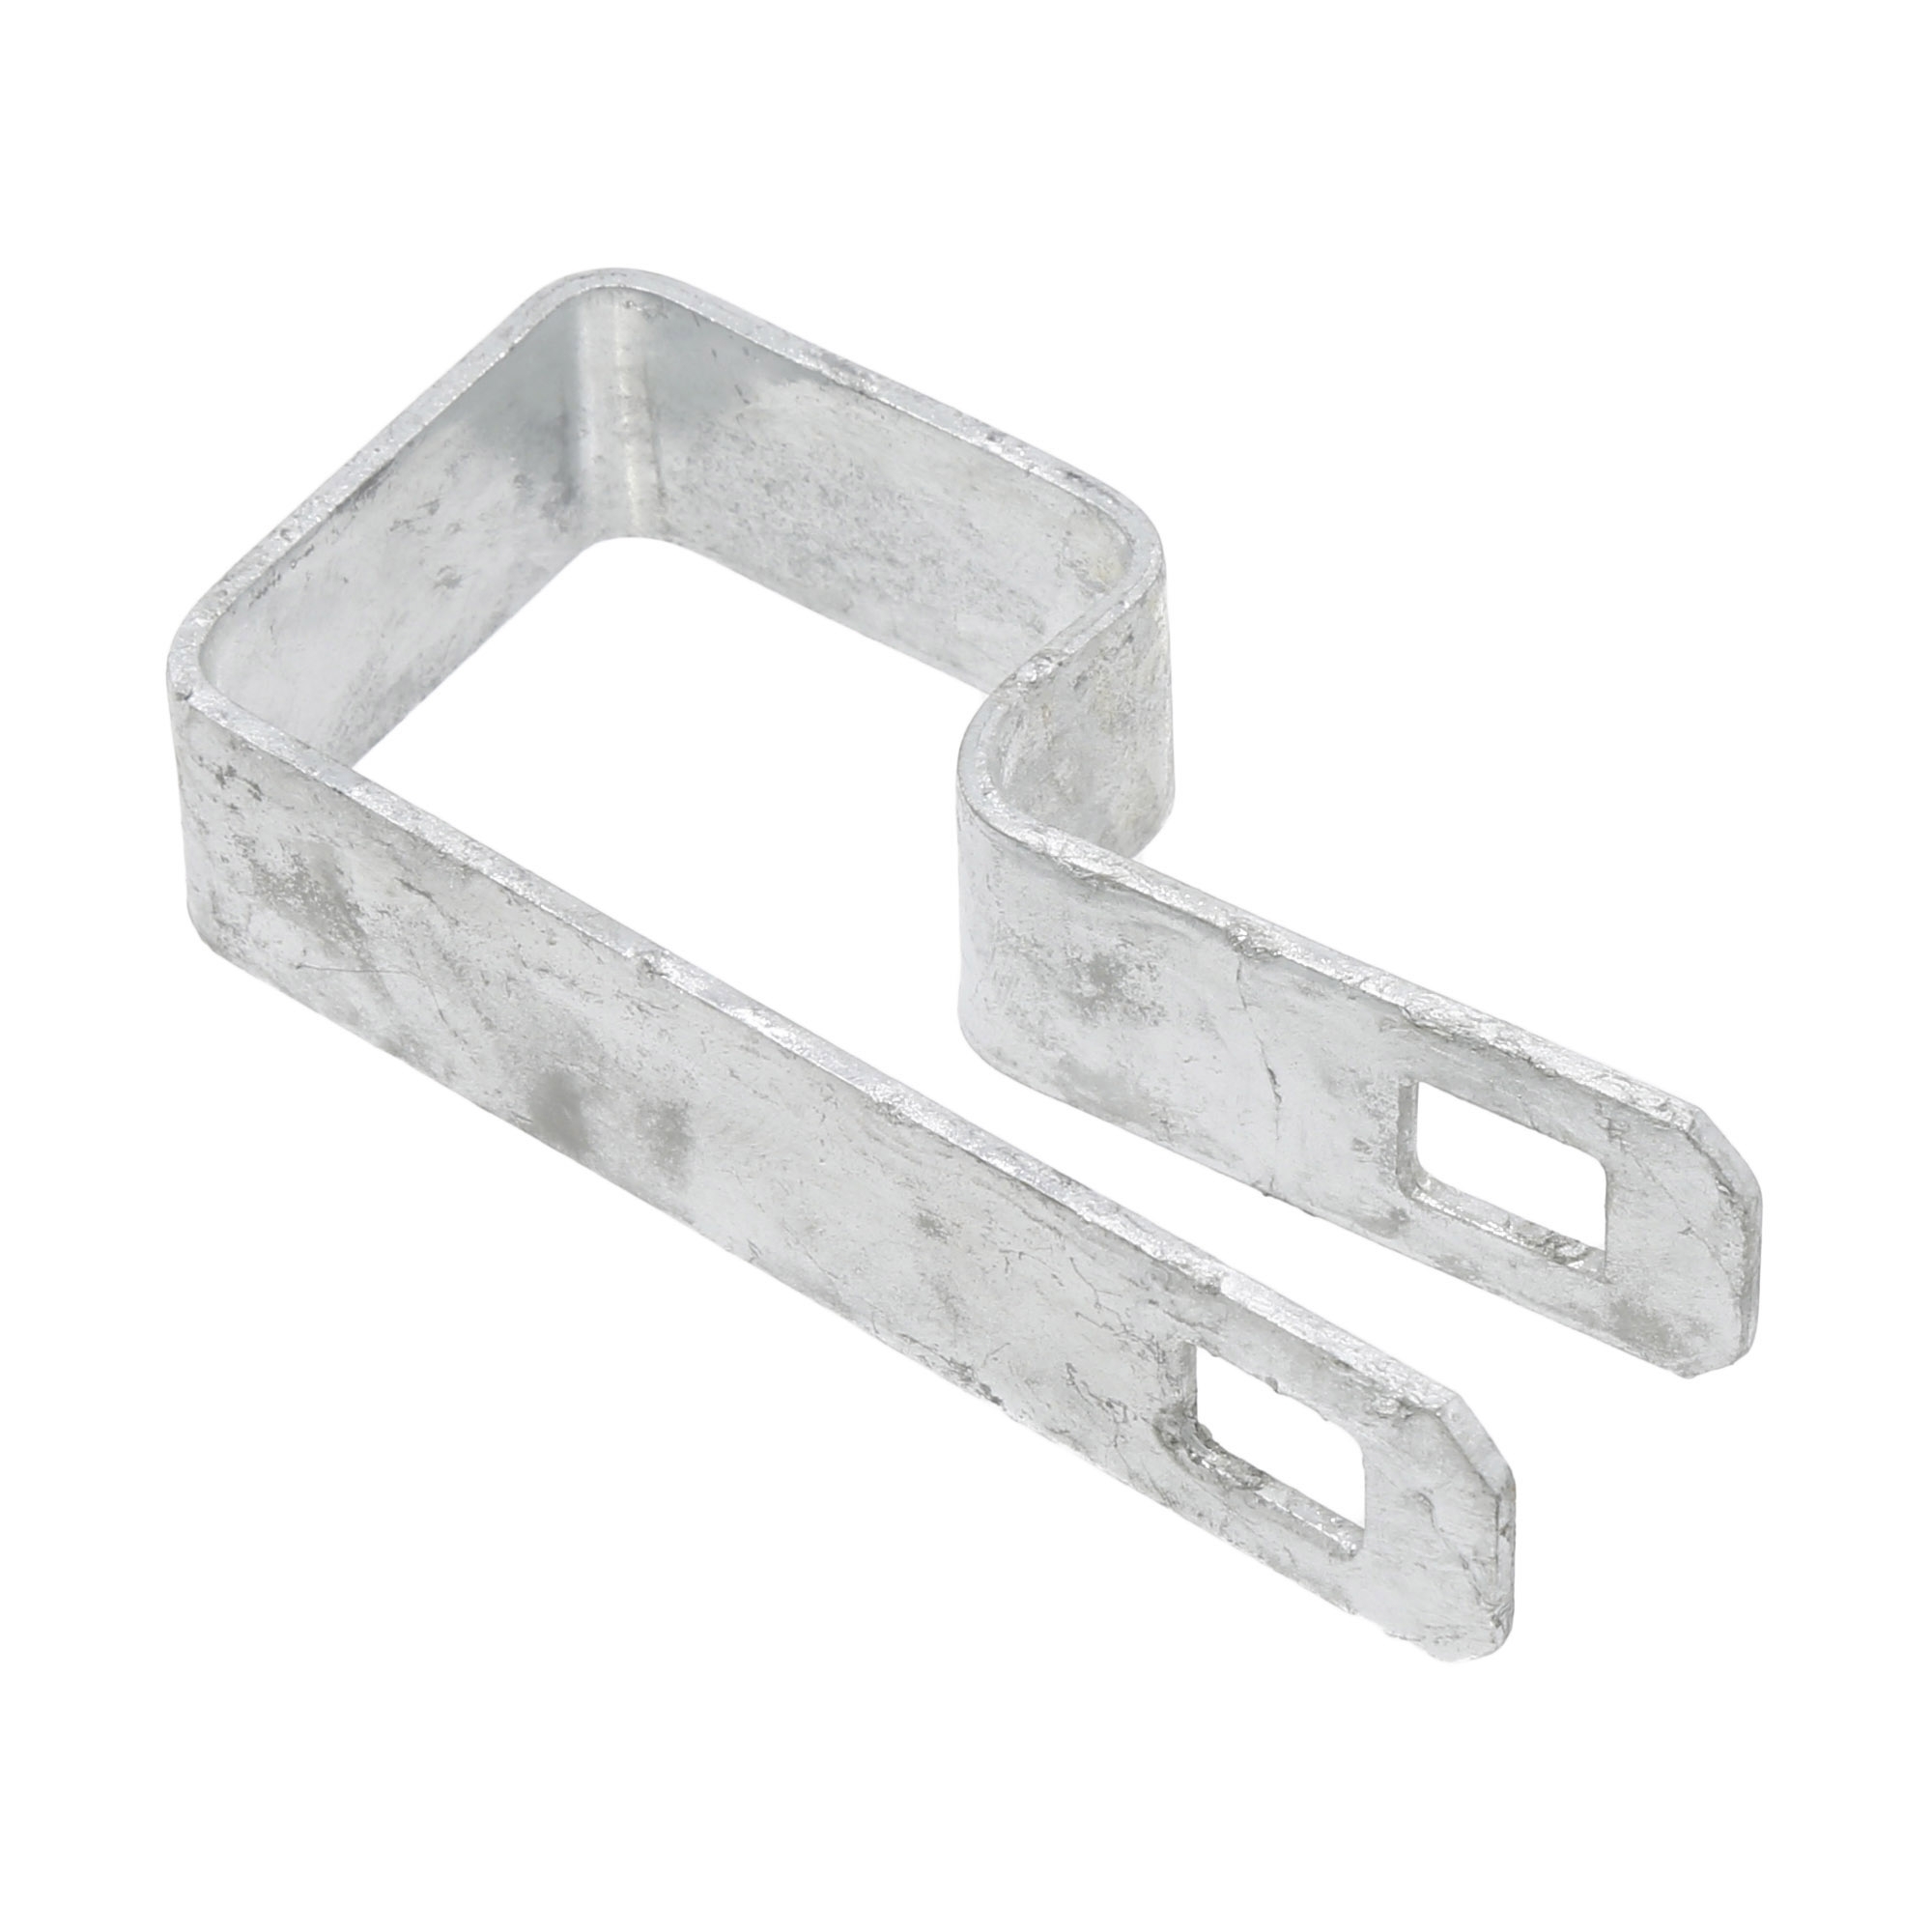
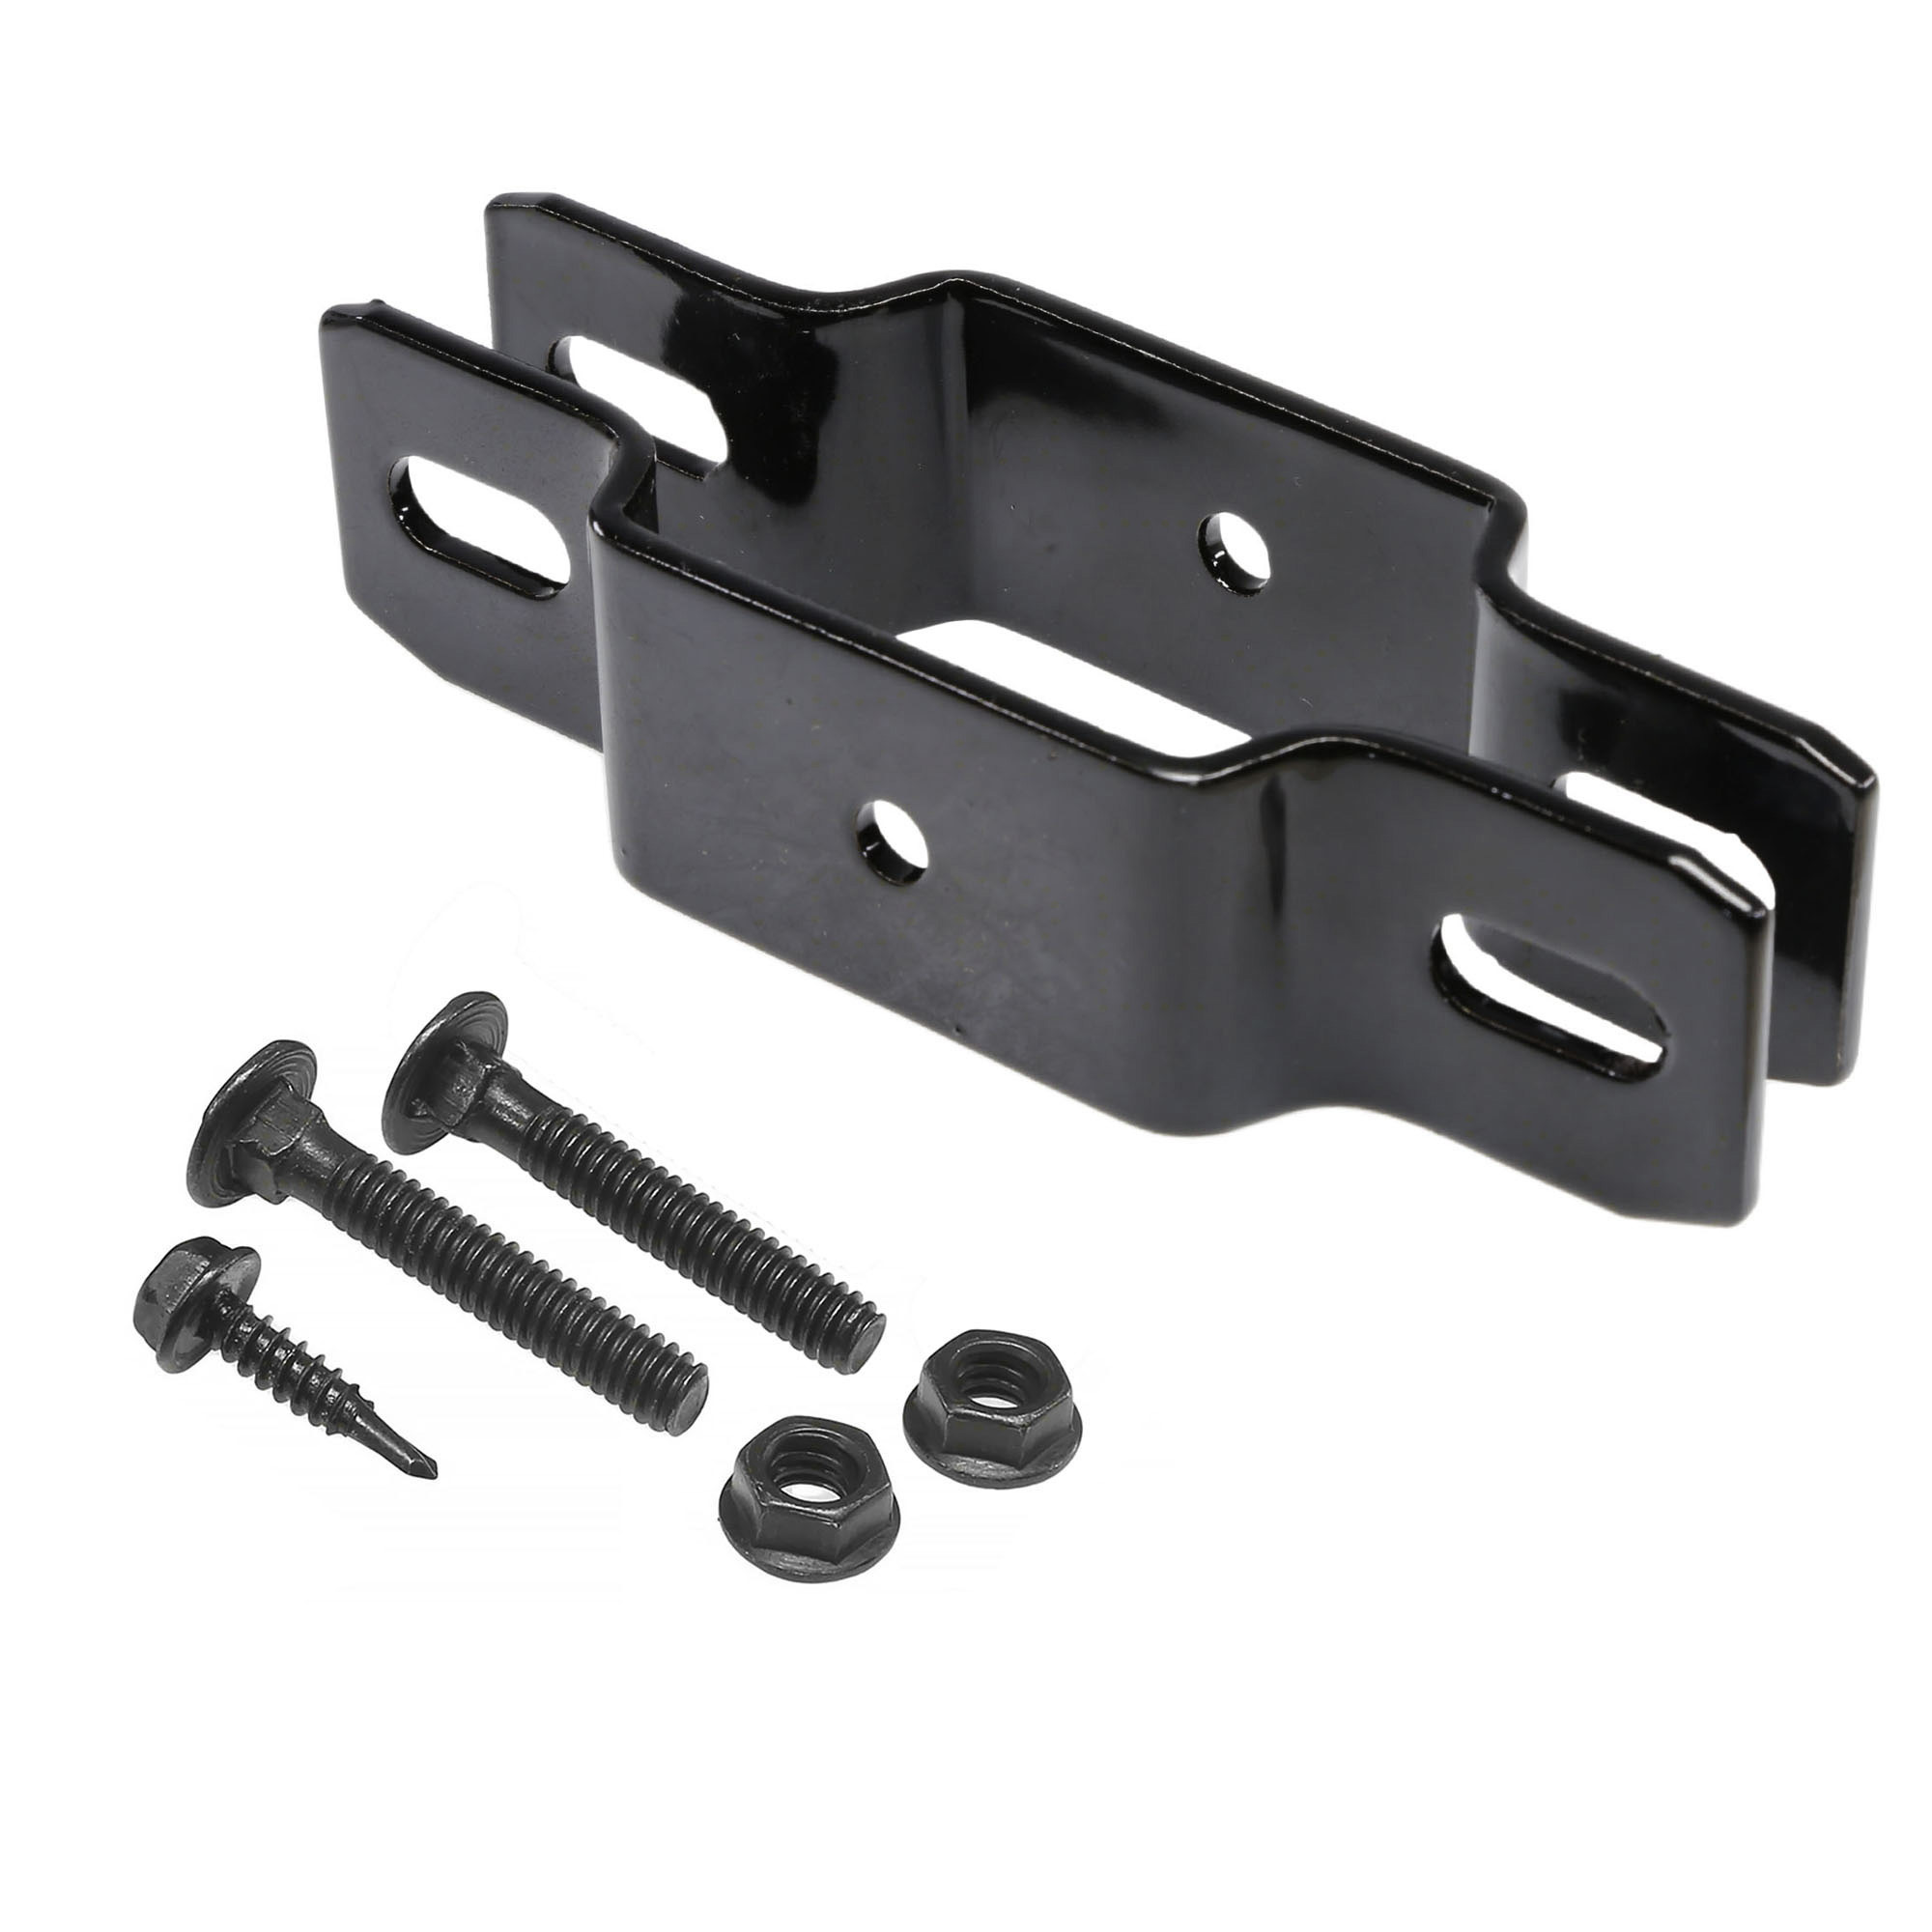
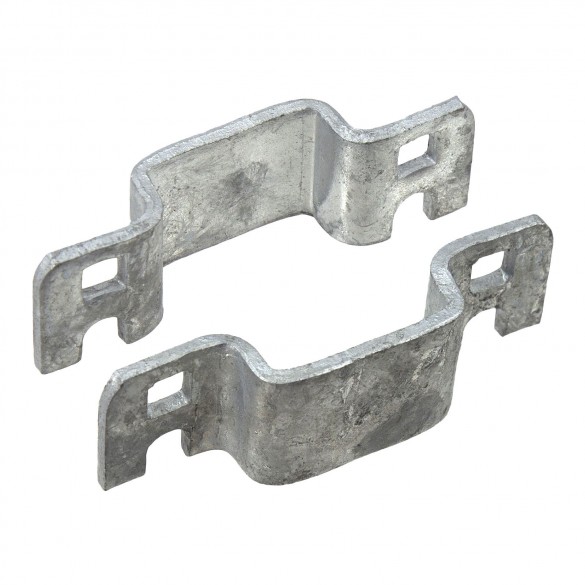
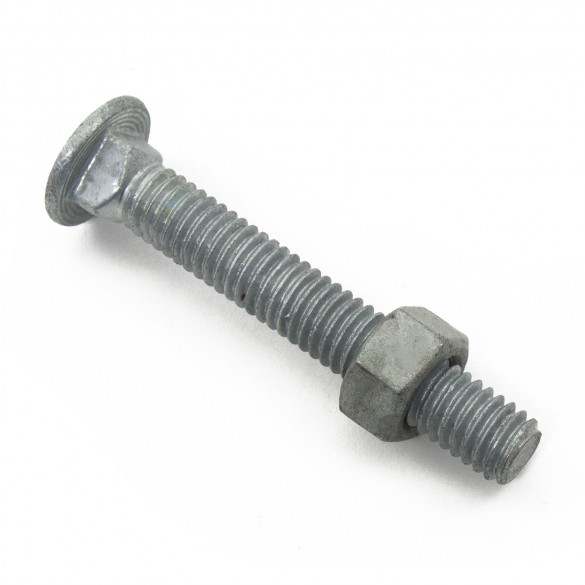
Most wood fence gates will sag over time from exposure to weather conditions but can be easily fixed by attaching hardware like corner brackets and a turnbuckle. Sometimes gate support hardware is sold in Anti-Sag kits that typically include a metal corner bracket for the hinge side of the gate and bottom latch, a turnbuckle that will attach to the corner bracket, and a steel cable that will attach to the turnbuckle and corner bracket with cable clamps. The turnbuckle needs to be turned or tightened up to the cable, which will remove the sag of the wood fence gate. This type of hardware is ideal for gates up to 6' high and 4' wide and can force a distorted parallelogram gate back into its proper square or L-Shape 90-degree angles.
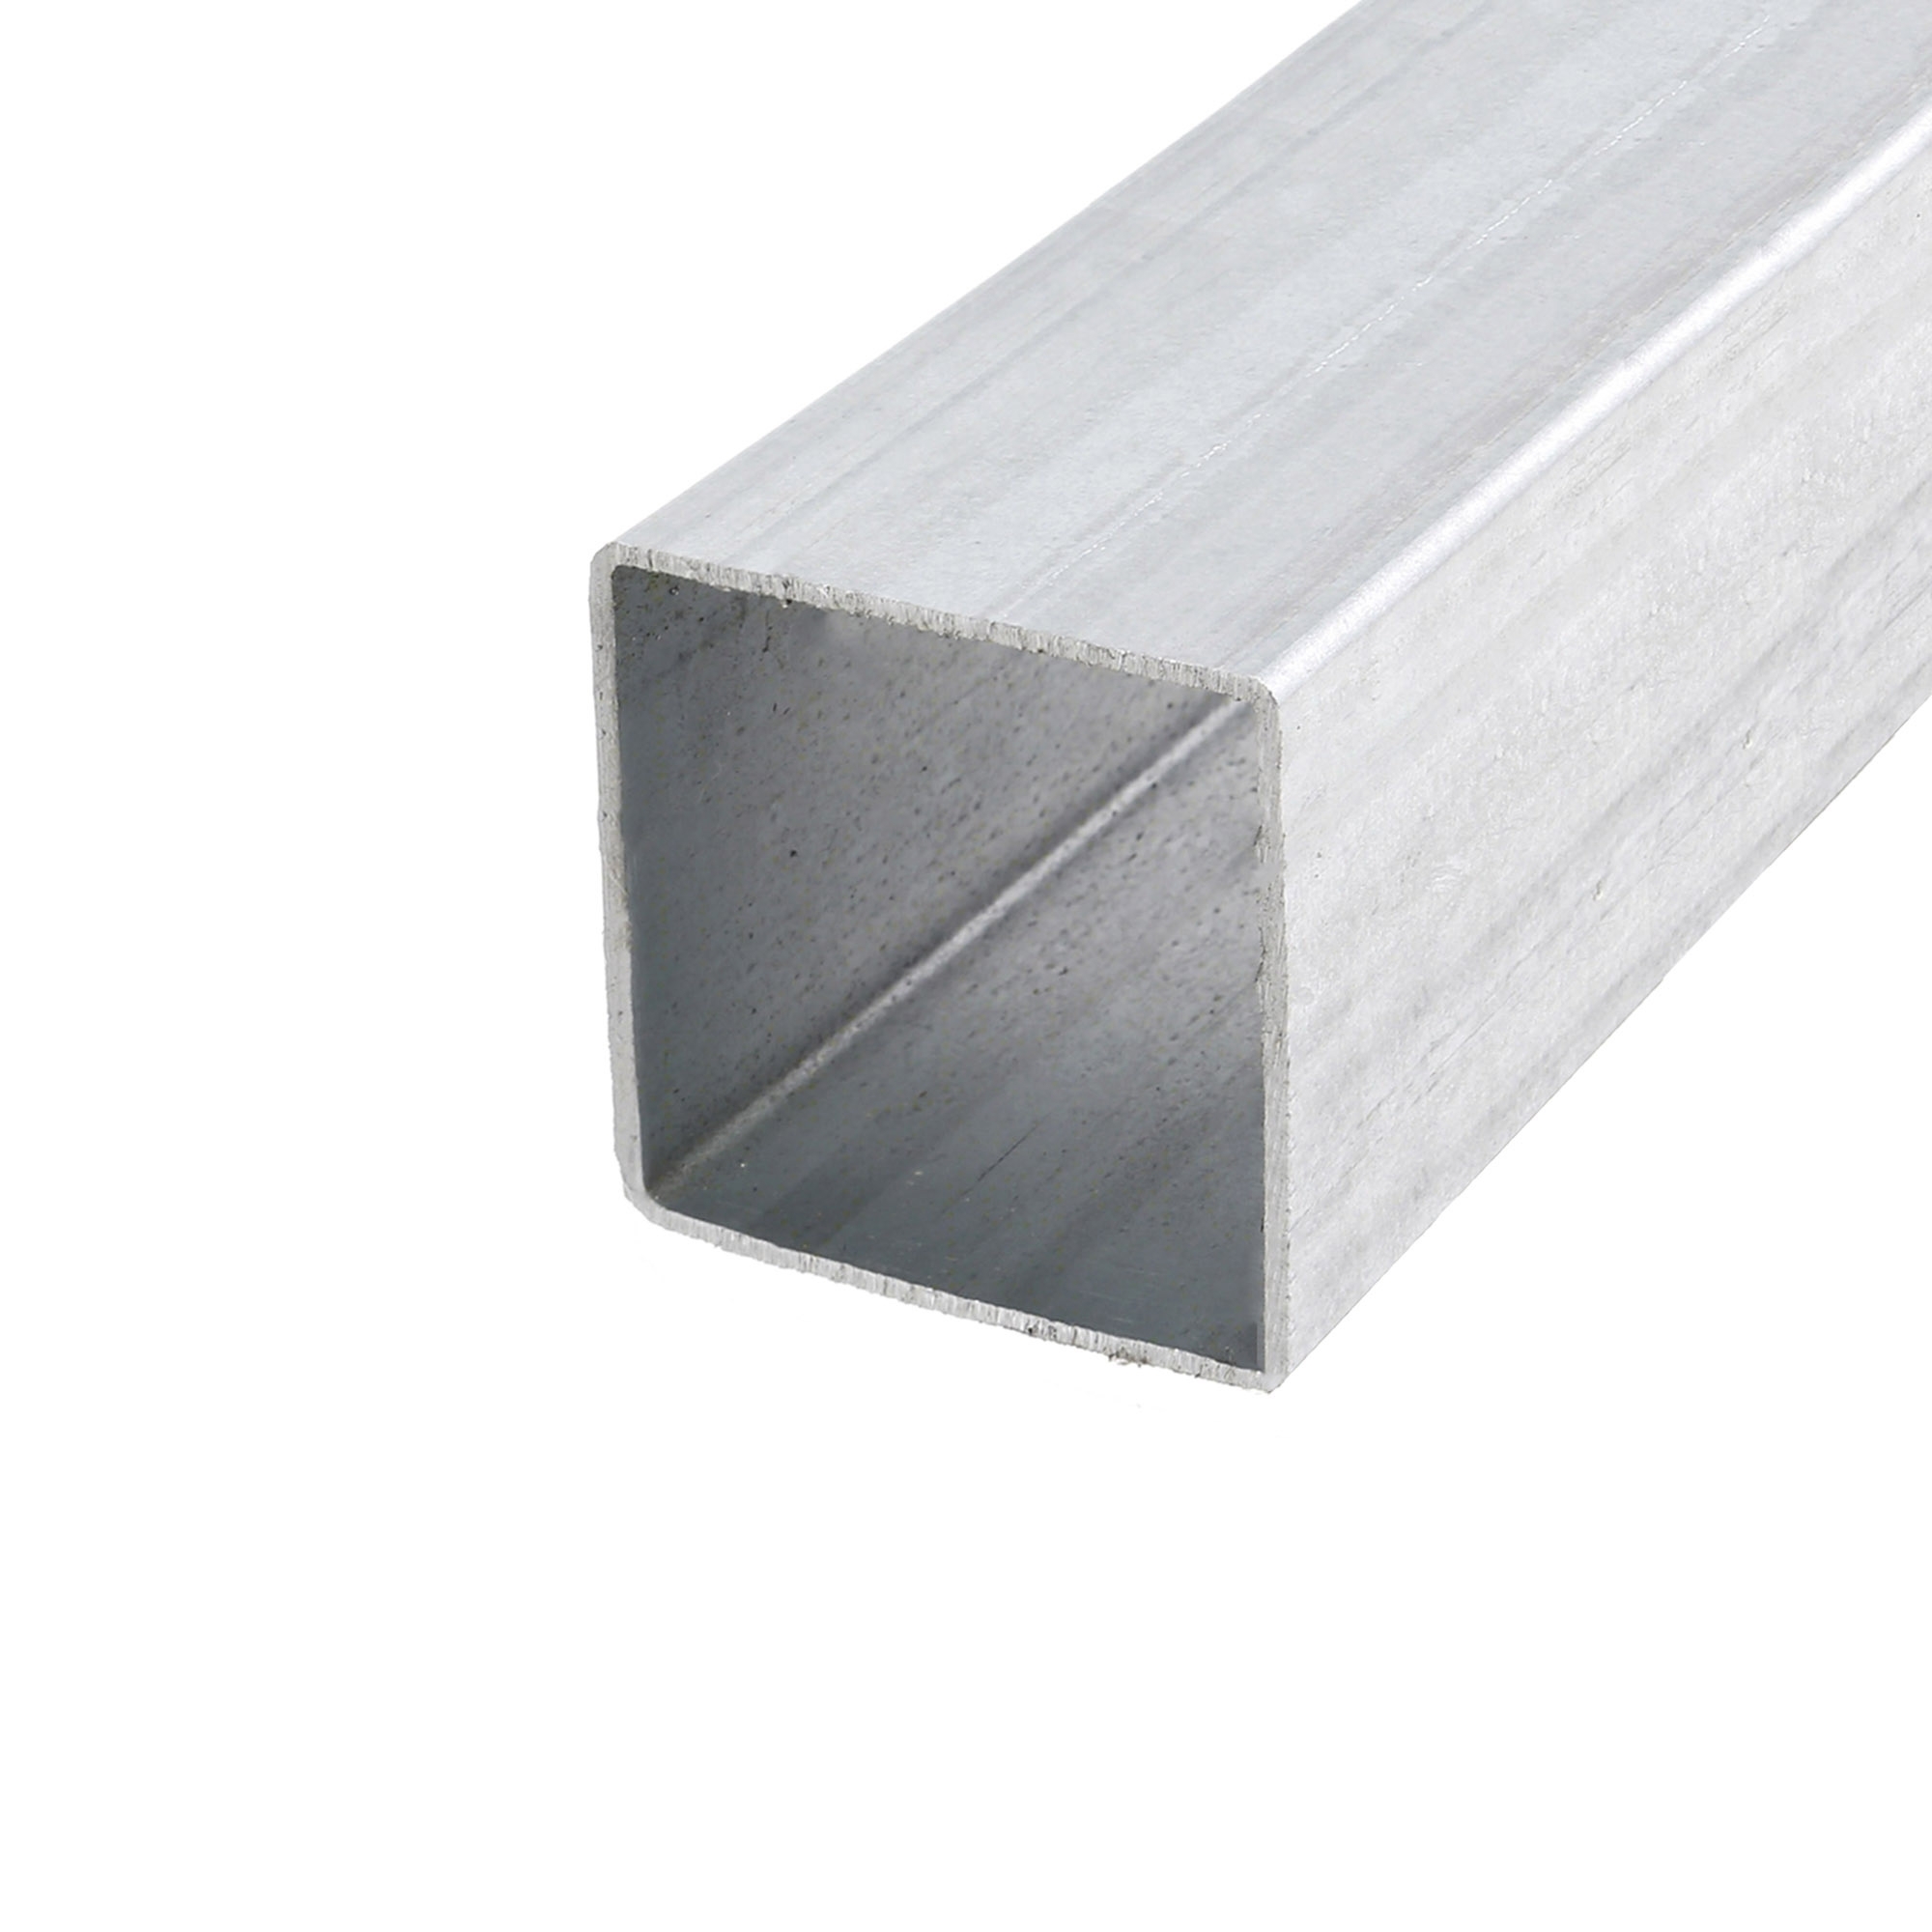
High-traffic, heavy-duty wood fence gates experience sagging from worn-out gate hinges or loosened screws. Tightening the screws of the gate hinges or replacing the screws with longer ones is a simple first solution to see if it could solve the gate sag. If it still sags, checking the gate hinges for rust or bending is another budget-friendly solution that would generally only happen to extremely heavy, oversized gates. For these oversized wood fence gates, installing a steel frame to the back of the wood fence is the best way to prevent the gate sag before it happens.
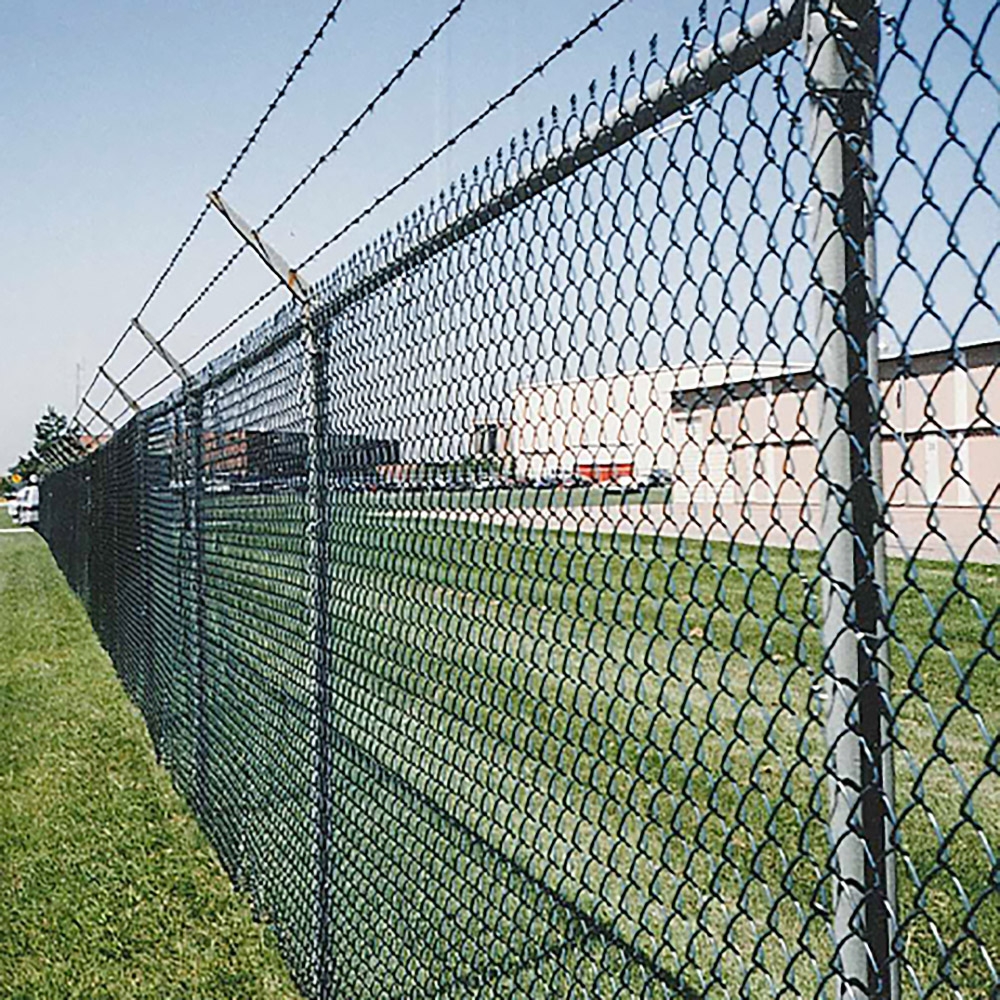
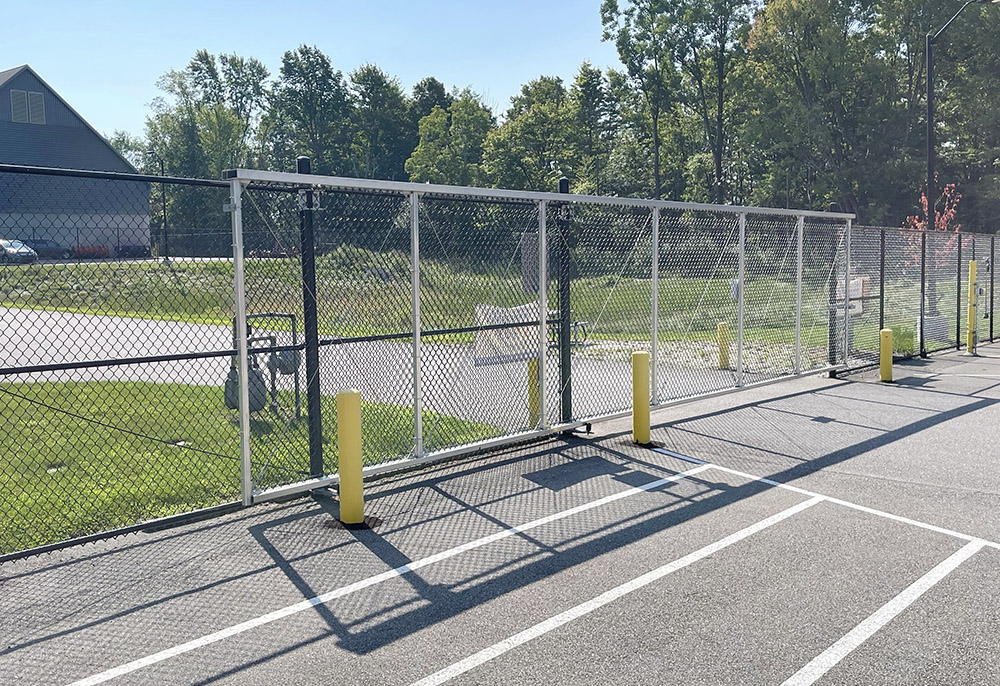
Sagging Chain Link Fence Gate
Chain Link Fence Systems can sag over time despite how well installed they are. Discovering the cause of the sag is the first step, with many things to look for to see what the underlying issue is.
- Check The Tension Wire: Is it stretched or broken?
- Check The Mesh: Is the chain link material deformed or damaged?
- Check The Posts: Is the concrete cracked, or were the posts not dug deep enough?
- Misaligned / Sagging Swing Gate: Are the gate hinges shifted?
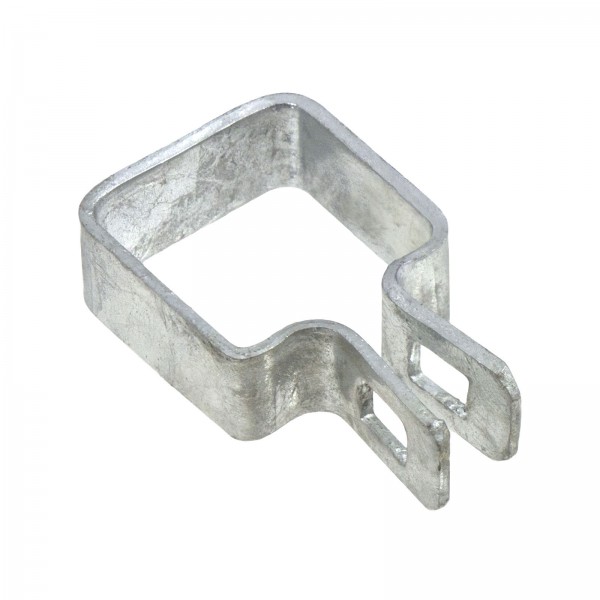
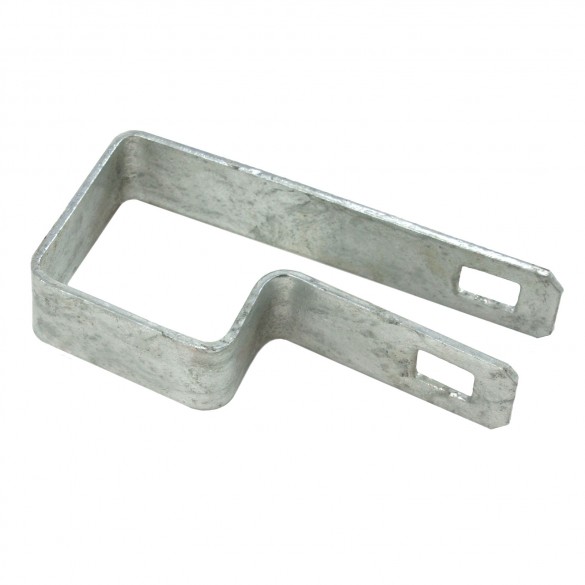
Fixing a misaligned chain link swing gate or a swing gate that is not latching properly requires an open-end wrench/pliers, a marker, and a small carpenter's level. Using the pliers, remove the nuts on the bottom of the tension band, and work your way up the post to remove the tension band. *Always start at the bottom to avoid adding pressure to the bottom of the gate. Mark the proper height's on the post with a marker in order to reconstruct, keep in mind that the gate may have sagged over time because the hinges loosened and dropped. Loosen and remove the hinges. Realign the gate hinges so that they are perpendicular to the latched gate, you may be realigning differently than before if they were not properly installed. Support the hinges and retighten the nuts. Place the gate back on its hinges and put the bolts back into the tension bands, and tighten. Use the carpenter's level to test if the gate is still sagging.
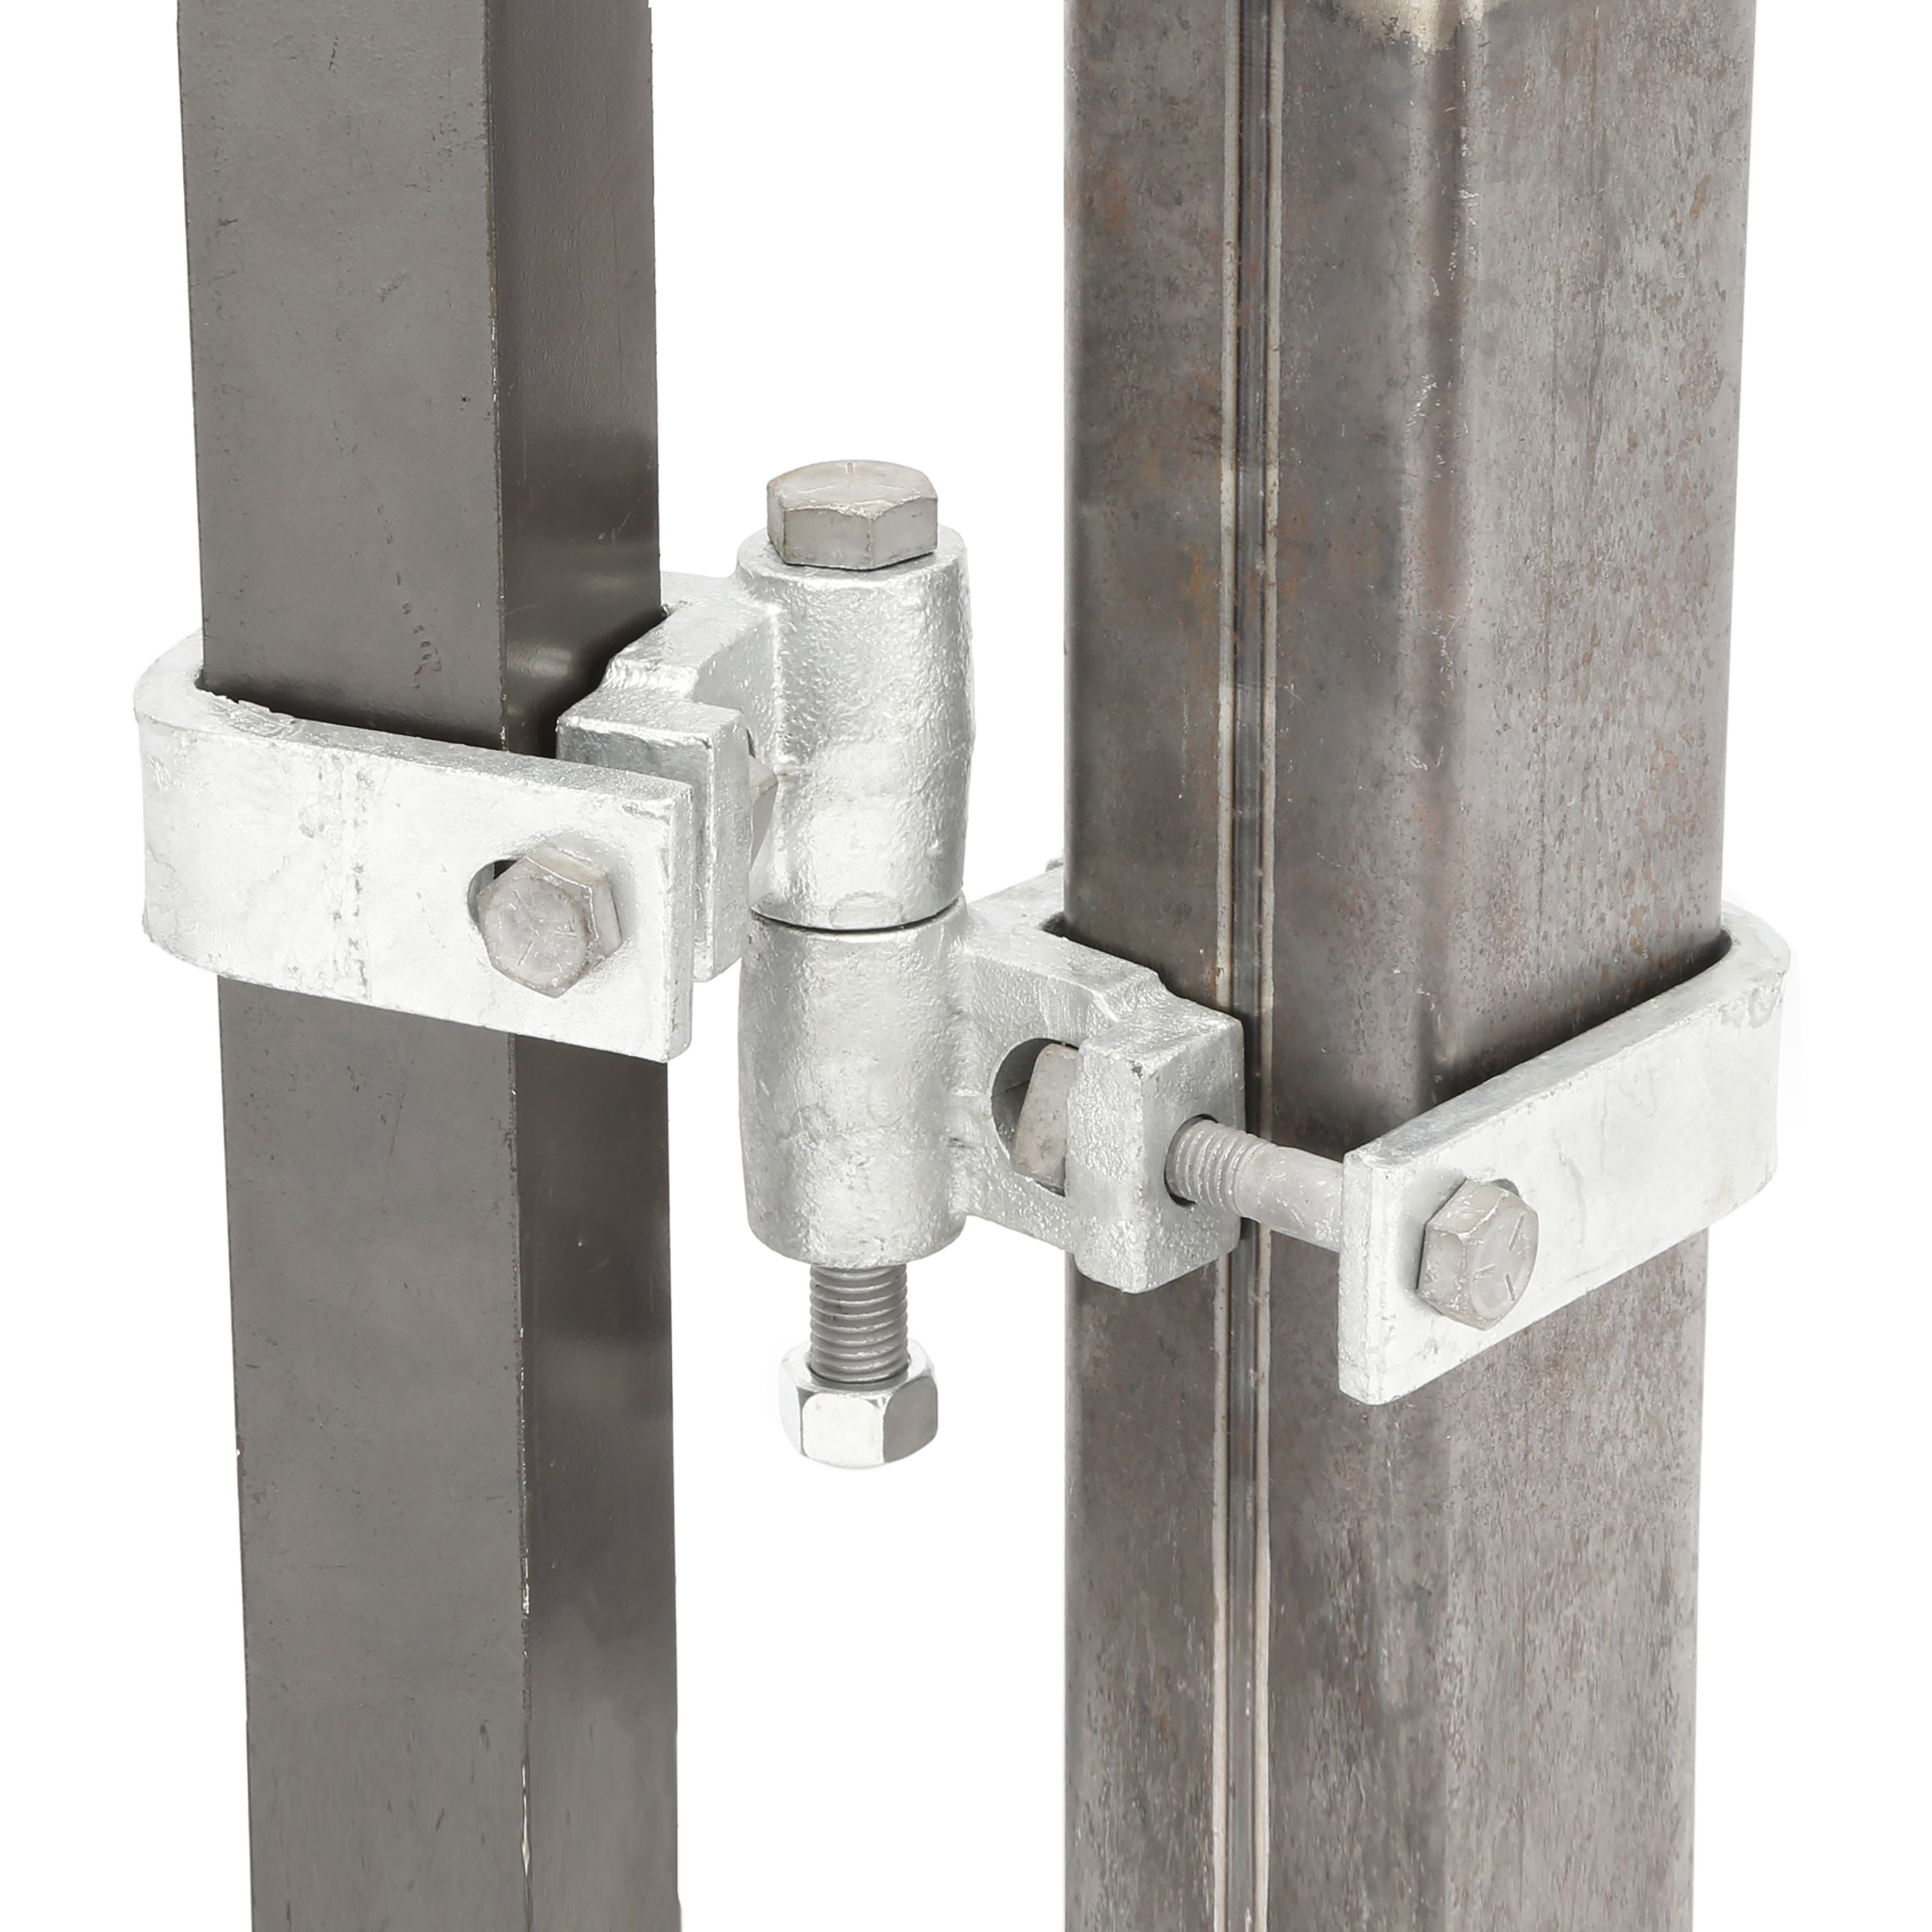
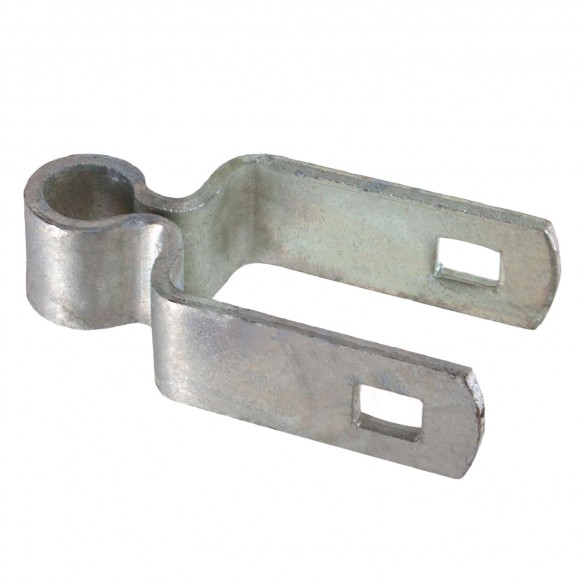
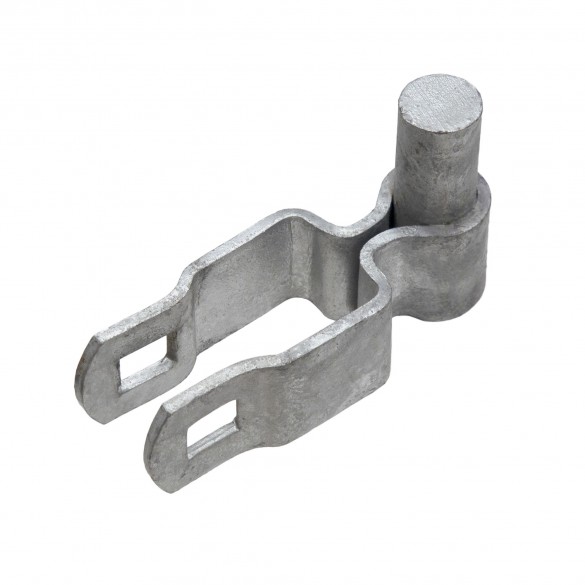
Sagging Heavy Metal Or Aluminum Gates
Adjusting a sagging metal gate has its challenges but there are several ways to make adjustments to the sagging gate to fix it or reinforce it.
- Tightening Or Replacing The Hinges
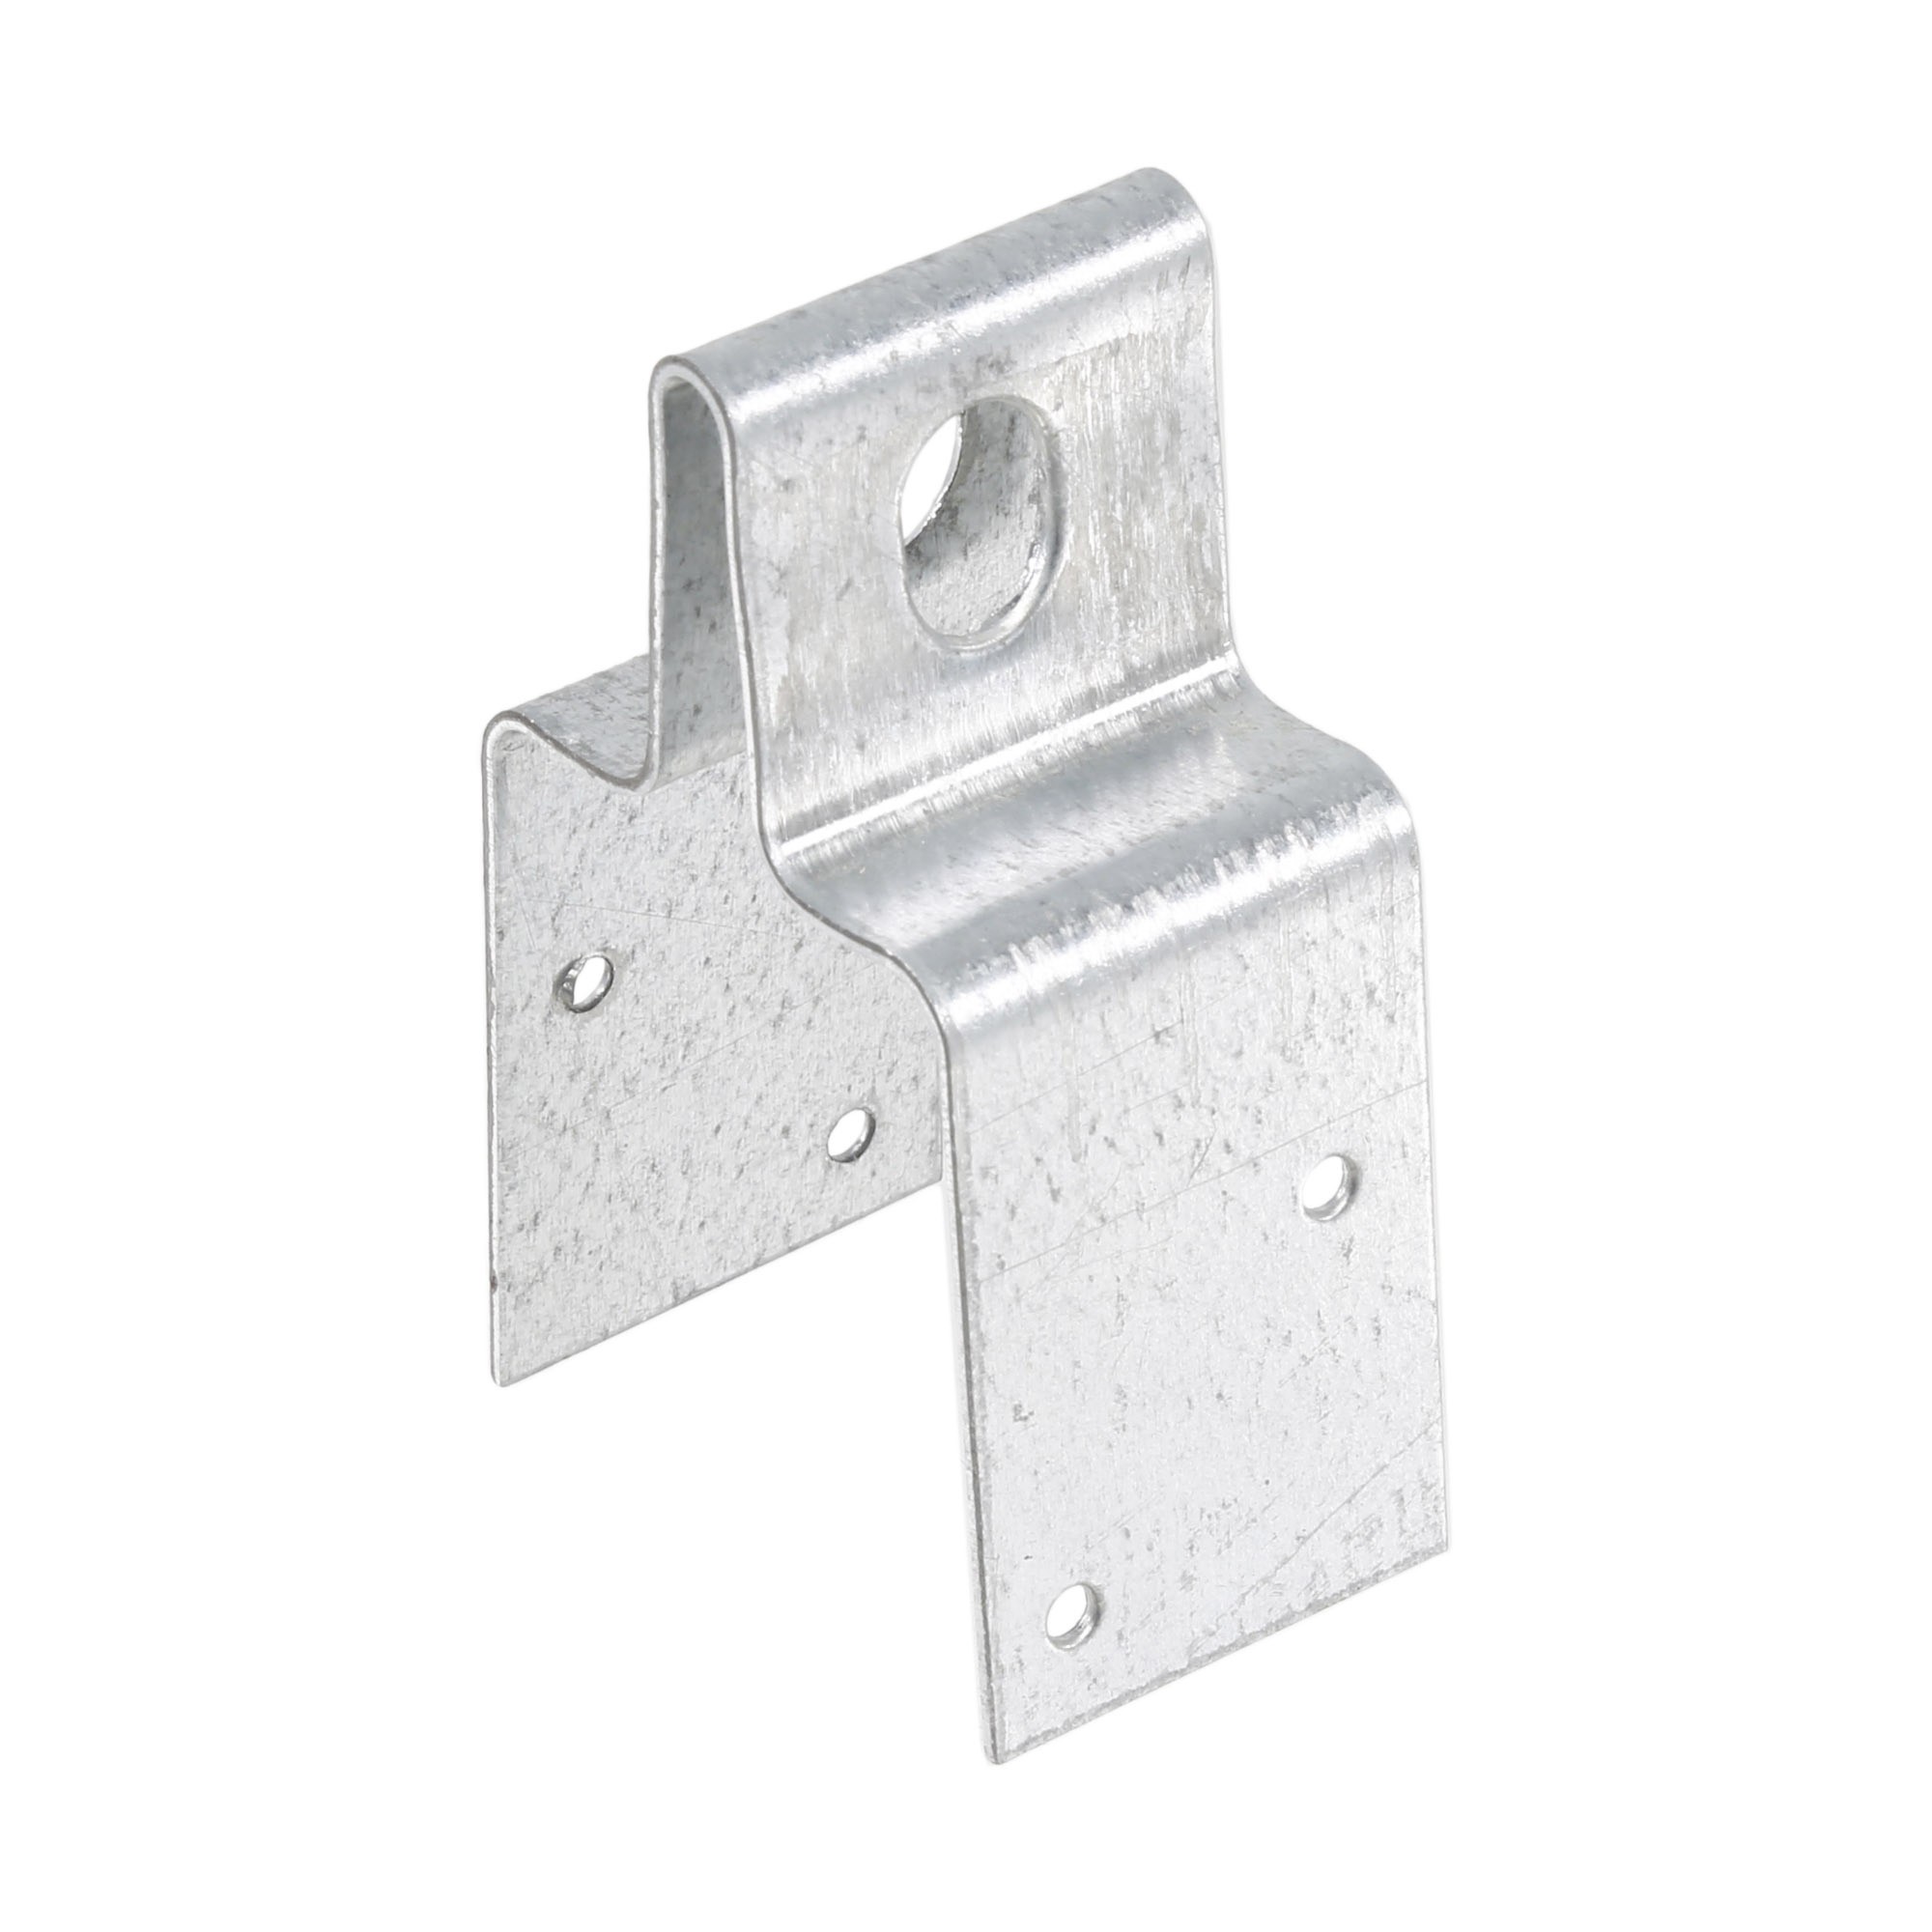
- Adding Additional Support Like Support Posts Or Brackets
- Adding Welded Diagonals To The Back Of The Gate (Reinforce The Structure)
- Install Brackets To Posts On Either Side Of The Gate To Distribute Weight Evenly
- Use Cables Threaded Through Posts To Support Gate Weight
- Make Sure Posts Are Evenly Installed And In Concrete At Least 2 Feet Deep
- Replace It (If Frame Is Beyond Repair)


Step-by-Step Guide: How to Stop a Gate From Sagging Using Square Fittings
A sagging gate can become a nuisance, making it difficult to open and close properly while also compromising the appearance and security of your fence. If left unfixed, sagging can worsen over time, potentially leading to further damage. For a long-term, reliable solution, Square Fittings offers premium gate repair hardware designed to restore your gate’s proper alignment and function. Follow this comprehensive guide to fix a sagging gate using Square Fittings products.
Tools and Materials Needed
Before beginning the installation, gather all the necessary tools and materials to ensure a smooth process:
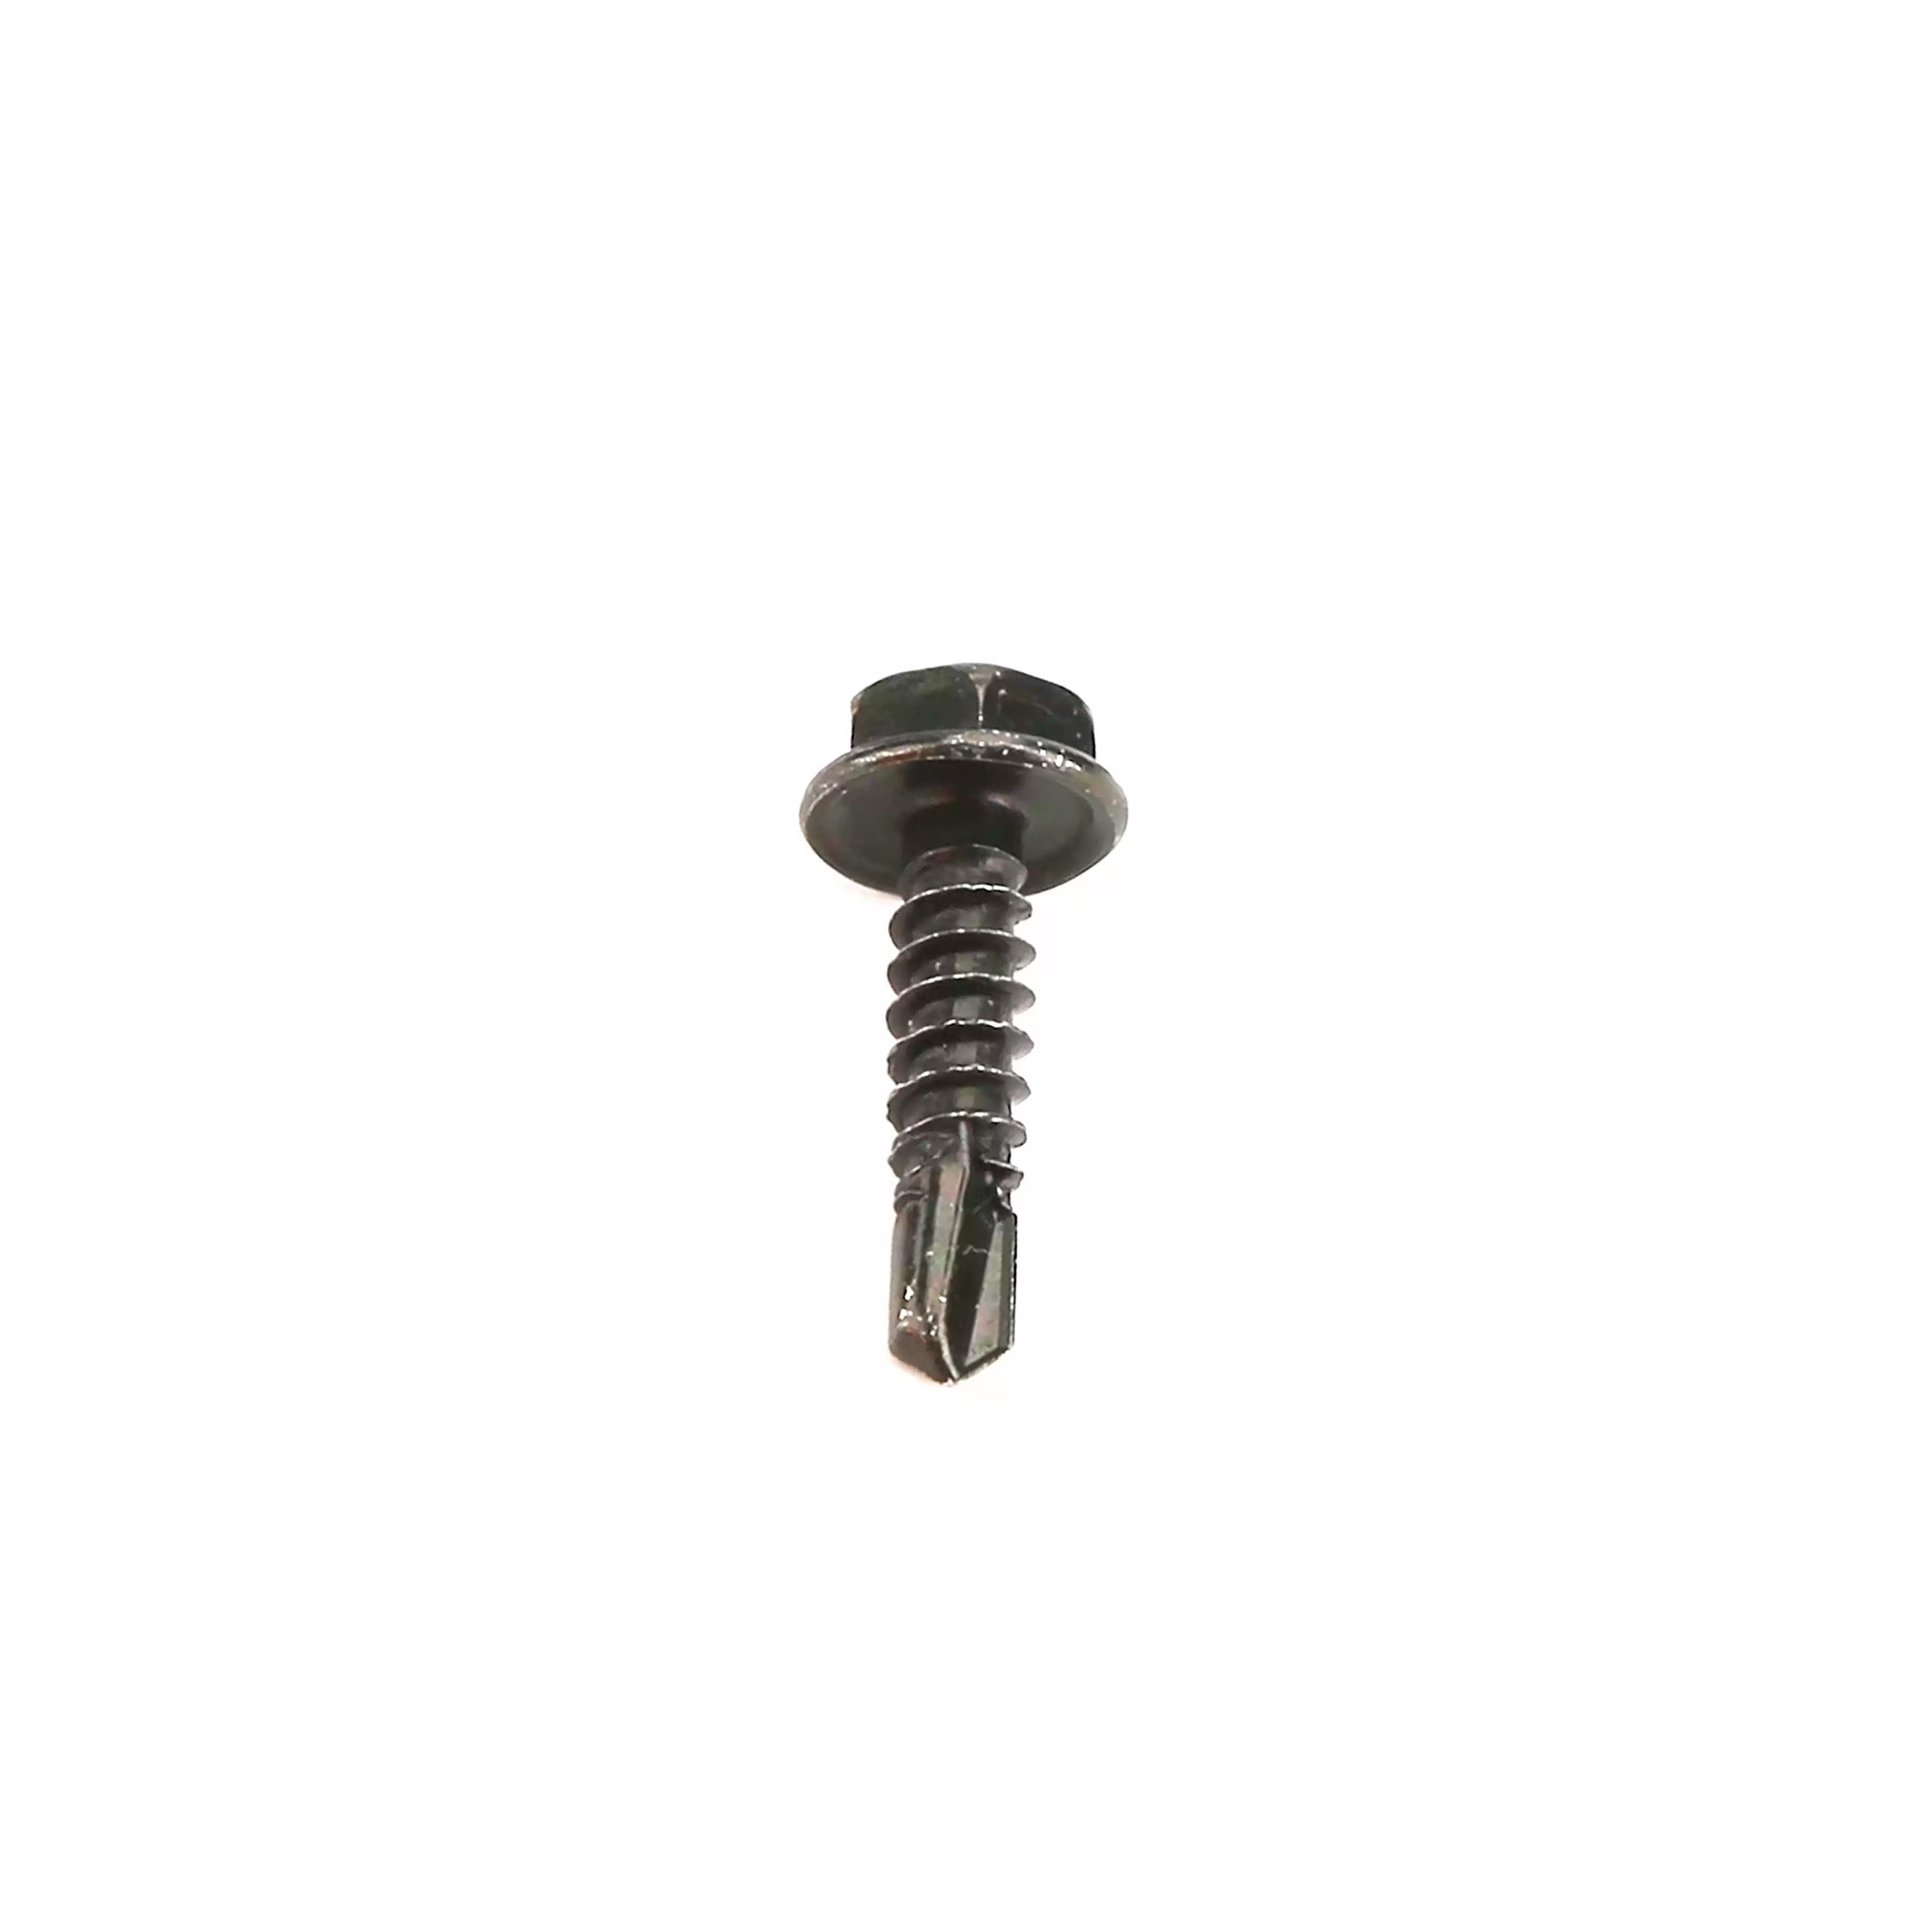
- Drill & Screwdriver – These tools are required to attach the metal brackets securely to the gate frame. A power drill will speed up the process, while a manual screwdriver may be used for fine adjustments.
- Carpenter’s Level – This will help confirm that your gate is properly aligned both before and after the repair process.
- Wrench or Pliers – You’ll need these to tighten the turnbuckle and secure the cable clamps properly.
- Measuring tape – Accurate measurements are essential for proper placement of the hardware.
- Marker – Use this to mark measurements on the gate, indicating where brackets and cables should be installed.
Installation Steps to Stop a Gate From Sagging
1. Measure and Mark the Correct Height for Your Gate Alignment
Start by determining the current alignment of your sagging gate. Use a measuring tape to compare the height of both sides of the gate, identifying how much it has dropped. Mark the correct height where the gate should be aligned on the post or fence frame. Additionally, use a carpenter’s level to check for horizontal alignment. Once you’ve determined the ideal height, mark key points on the gate where the hardware will be installed. This ensures that the components are positioned correctly before any drilling or screwing takes place.
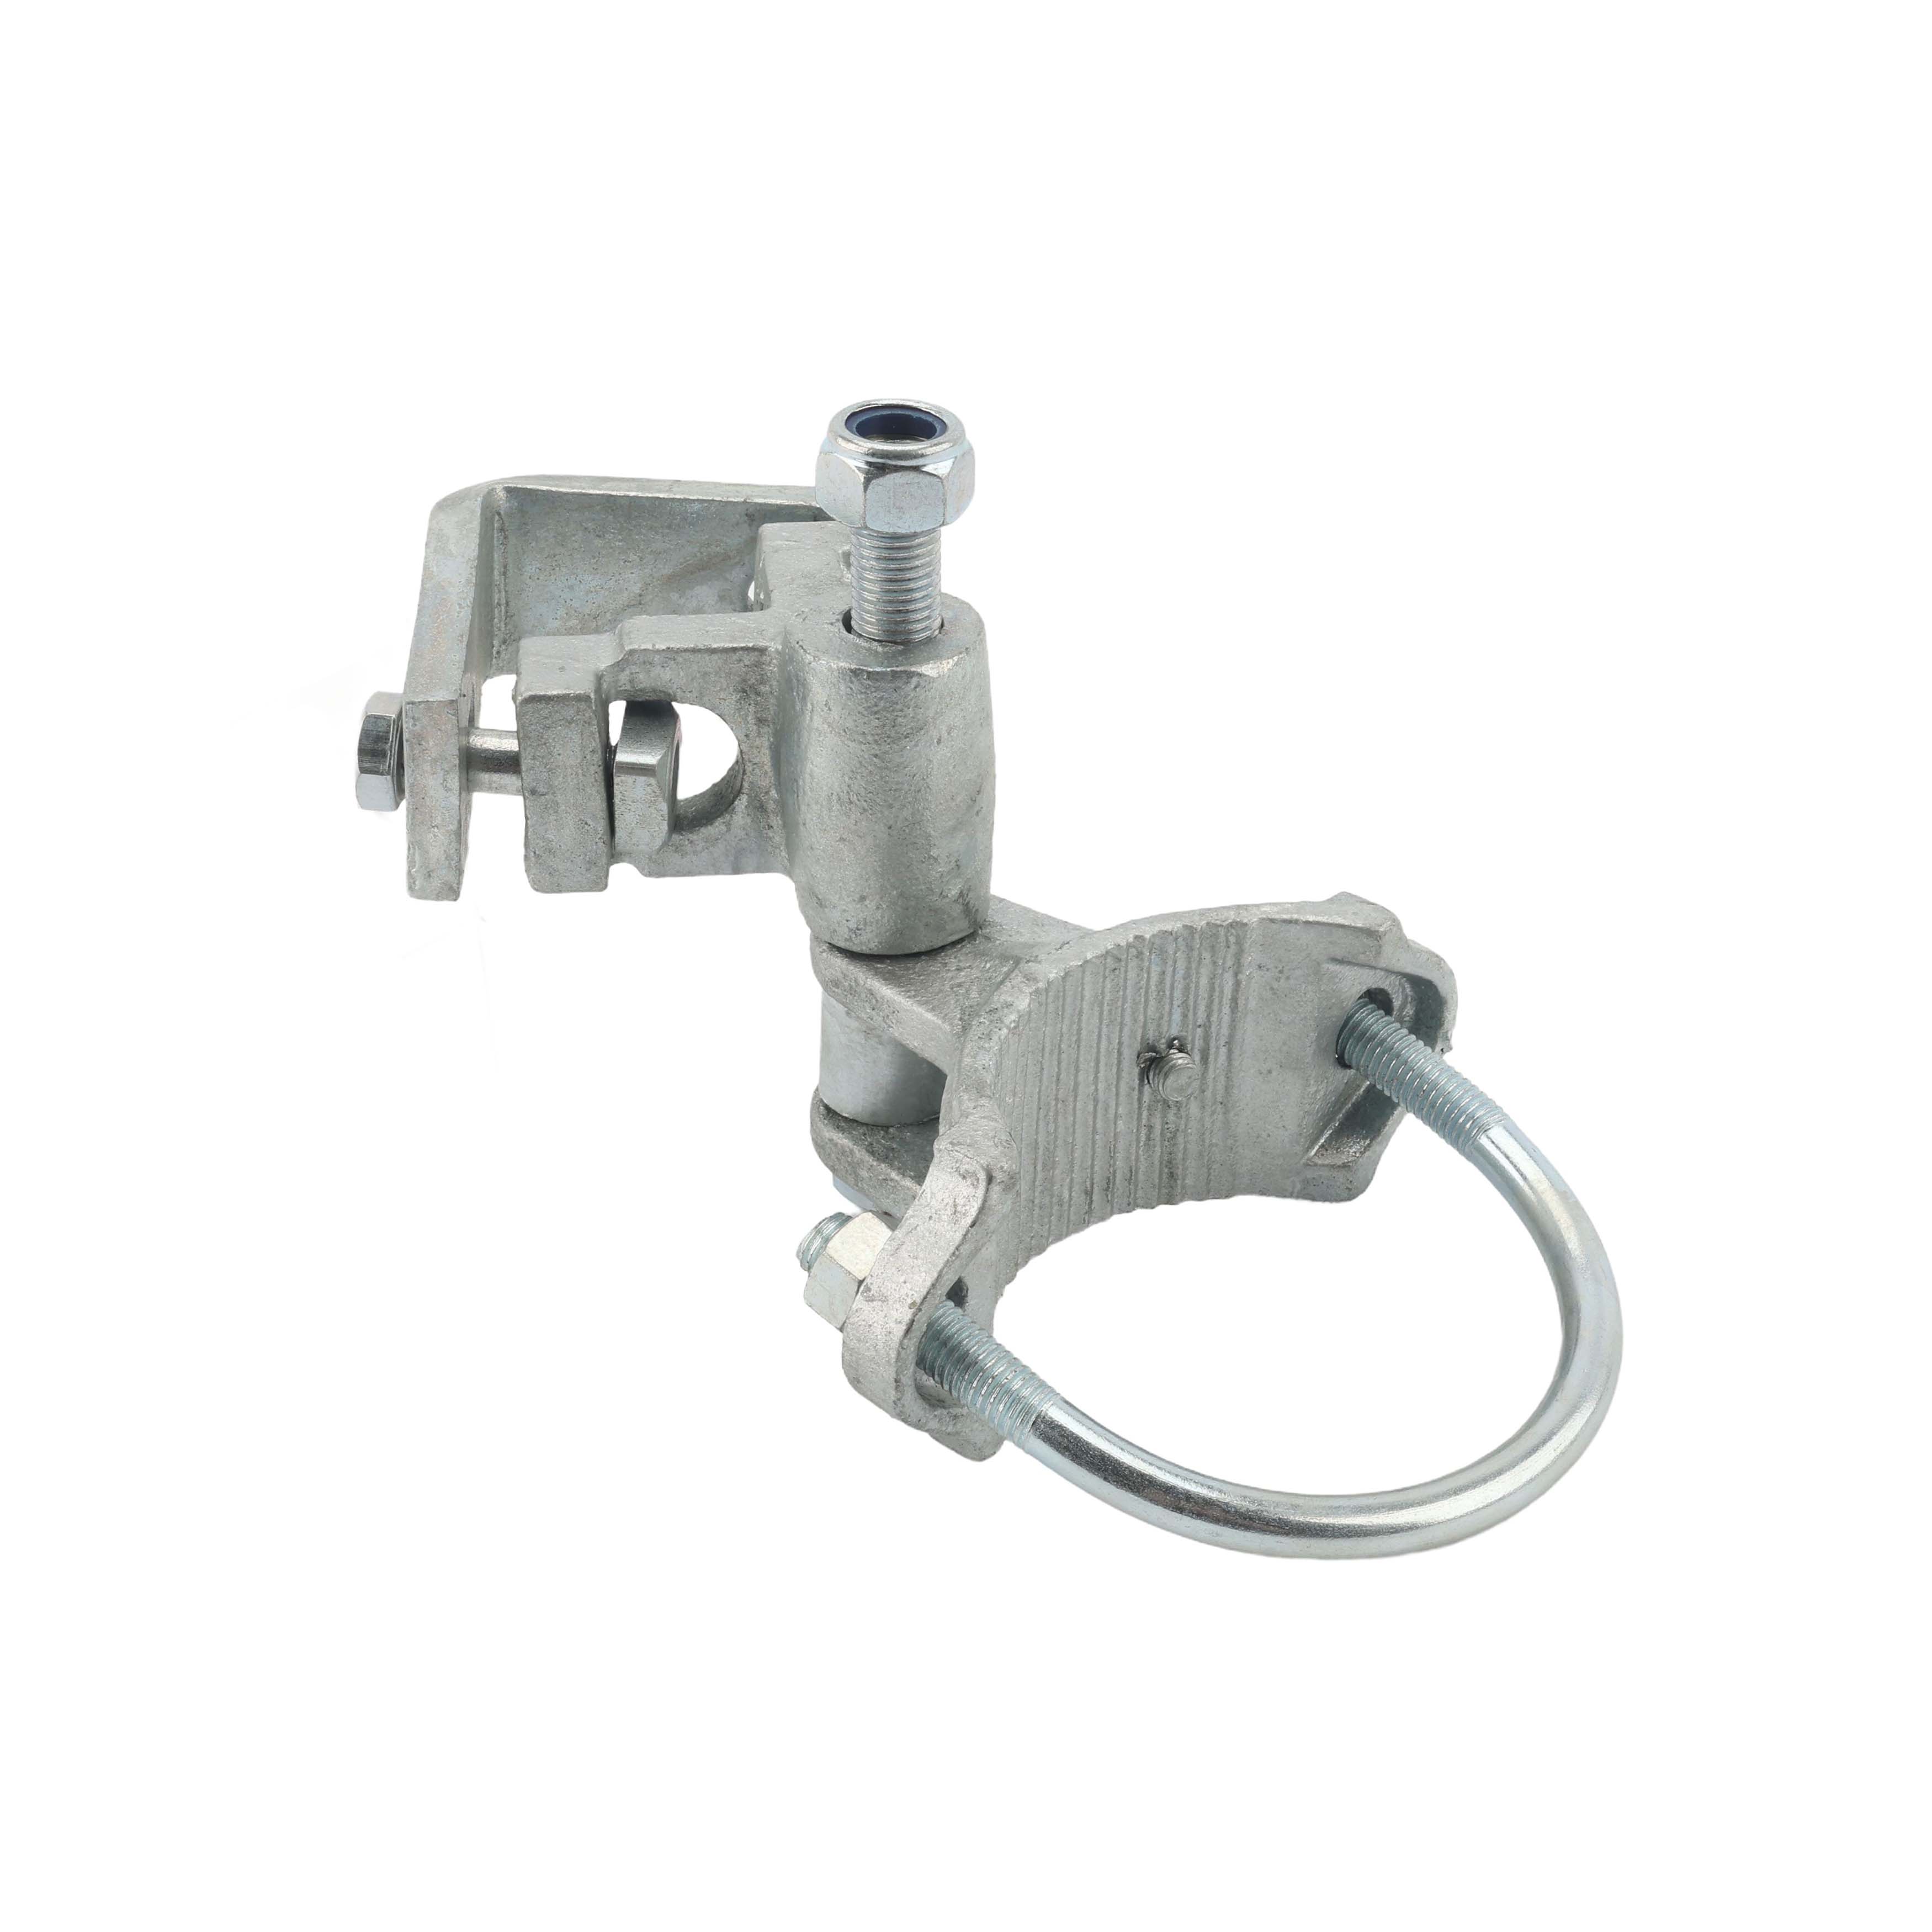
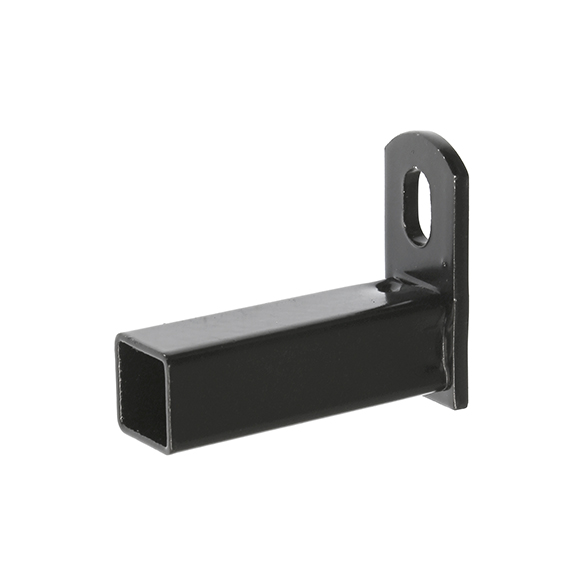
2. Attach Square Fittings Metal Corner Brackets to the Gate Frame Using Screws
The Square Fittings Anti-Sag Gate Kit includes durable metal corner brackets designed to reinforce the gate frame. Position these brackets at opposite corners—one at the bottom hinge-side and one at the top latch-side. Using your drill or screwdriver, secure the brackets in place with the included screws. Ensure they are firmly attached, as these brackets serve as anchor points for the steel cable that will correct the sagging. Double-check that they are properly aligned with your earlier markings to guarantee accurate placement.
3. Install the Steel Cable Diagonally, Securing It With the Included Cable Clamps
Now, it’s time to install the steel cable, which is the key component in lifting the sagging side of the gate. Thread the cable through the metal corner brackets, creating a diagonal support system from the top latch-side to the bottom hinge-side. This diagonal placement is essential for counteracting the effects of gravity that cause the sagging. Once positioned, use the cable clamps included in the kit to secure the cable in place. Ensure the cable is taut but not fully tightened at this stage, as you will be making further adjustments later with the turnbuckle.
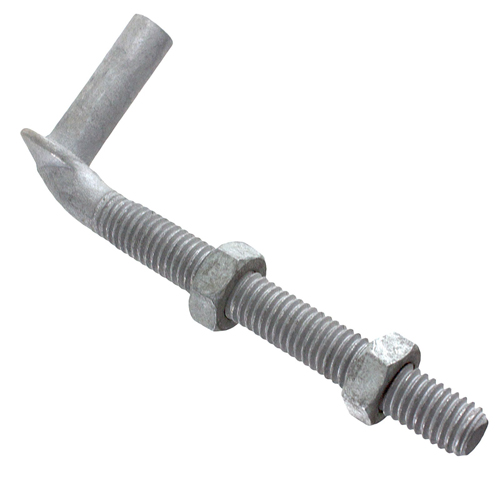
4. Connect the Turnbuckle to the Cable and Corner Brackets
The turnbuckle is a critical component that allows you to adjust the cable tension, effectively lifting the sagging portion of the gate. Attach one end of the turnbuckle to the steel cable and the other end to one of the metal brackets. Ensure that both ends are securely fastened before proceeding. The turnbuckle should be in a relaxed, open position initially, allowing room for tightening later. This setup enables you to gradually increase tension and lift the gate into its proper alignment without over-stressing the frame.
5. Use the Wrench to Tighten the Turnbuckle, Lifting the Sagging Side of the Gate
Now comes the most important step—adjusting the tension to lift the sagging side of the gate. Using a wrench or pliers, slowly turn the turnbuckle to tighten the steel cable. As you tighten, you’ll notice the gate beginning to rise on the sagging side. Make gradual adjustments, checking the gate’s position frequently to avoid overtightening, which could strain the frame. Continue tightening until the gate reaches the correct alignment, as indicated by your earlier measurements and markings.
6. Verify Alignment Using a Carpenter’s Level
Once you’ve tightened the turnbuckle sufficiently, use a carpenter’s level to confirm that the gate is now properly aligned. Place the level along the top of the gate and adjust as needed. If the gate is still slightly off, make small, incremental turnbuckle adjustments until the level shows an even alignment. Taking the time to verify alignment ensures that the repair is effective and prevents future sagging issues.
7. Ensure All Fittings Are Tightly Secured
After achieving proper alignment, go back and double-check all components. Ensure that the screws securing the metal brackets are fully tightened, the cable clamps are firmly in place, and the turnbuckle is locked at the correct tension. Wiggle the gate slightly to test its stability, ensuring that no hardware shifts out of place. If everything feels secure, the repair is complete. This final check helps prevent the gate from sagging again in the future.
Contact Us
Fence Gates of any material may distort, sag, or lean simply due to age, wear, and tear. Catching the gate sag early on can mean a quick repair or replacement focused on the gate hinges and screws. However, if the fence gate is sagging or leaning severely, or if the posts are also out of alignment, a deeper issue with the gate and fence system will require more extensive solutions. For major fence and gate issues, or if you're not sure what is causing your wood, metal, or chain link fence gate to sag after doing minor repairs like hinge tightening and replacement or installing anti-sag turnbuckles and cables, reach out to our fence and gate system specialists who will help provide solutions to getting your gate back to square and latching properly.
Contact Us Shop Square Fittings